How to Allocate More RAM in PojavLauncher to Stop Game Crashing
One of the most frustrating experiences in PojavLauncher is having your game suddenly freeze, close, or crash back to the home screen — especially when you’re in the middle of building, exploring, or fighting mobs. Nine times out of ten, the culprit isn’t your device, the mod, or the game version. It’s RAM allocation.
By default, PojavLauncher only gives Minecraft: Java Edition a tiny slice of your phone’s memory. Modern versions of Minecraft (especially 1.17+) are heavy. They need at least 2GB of RAM to run smoothly, and 3–4GB if you’re using mods, shaders, or large modpacks.
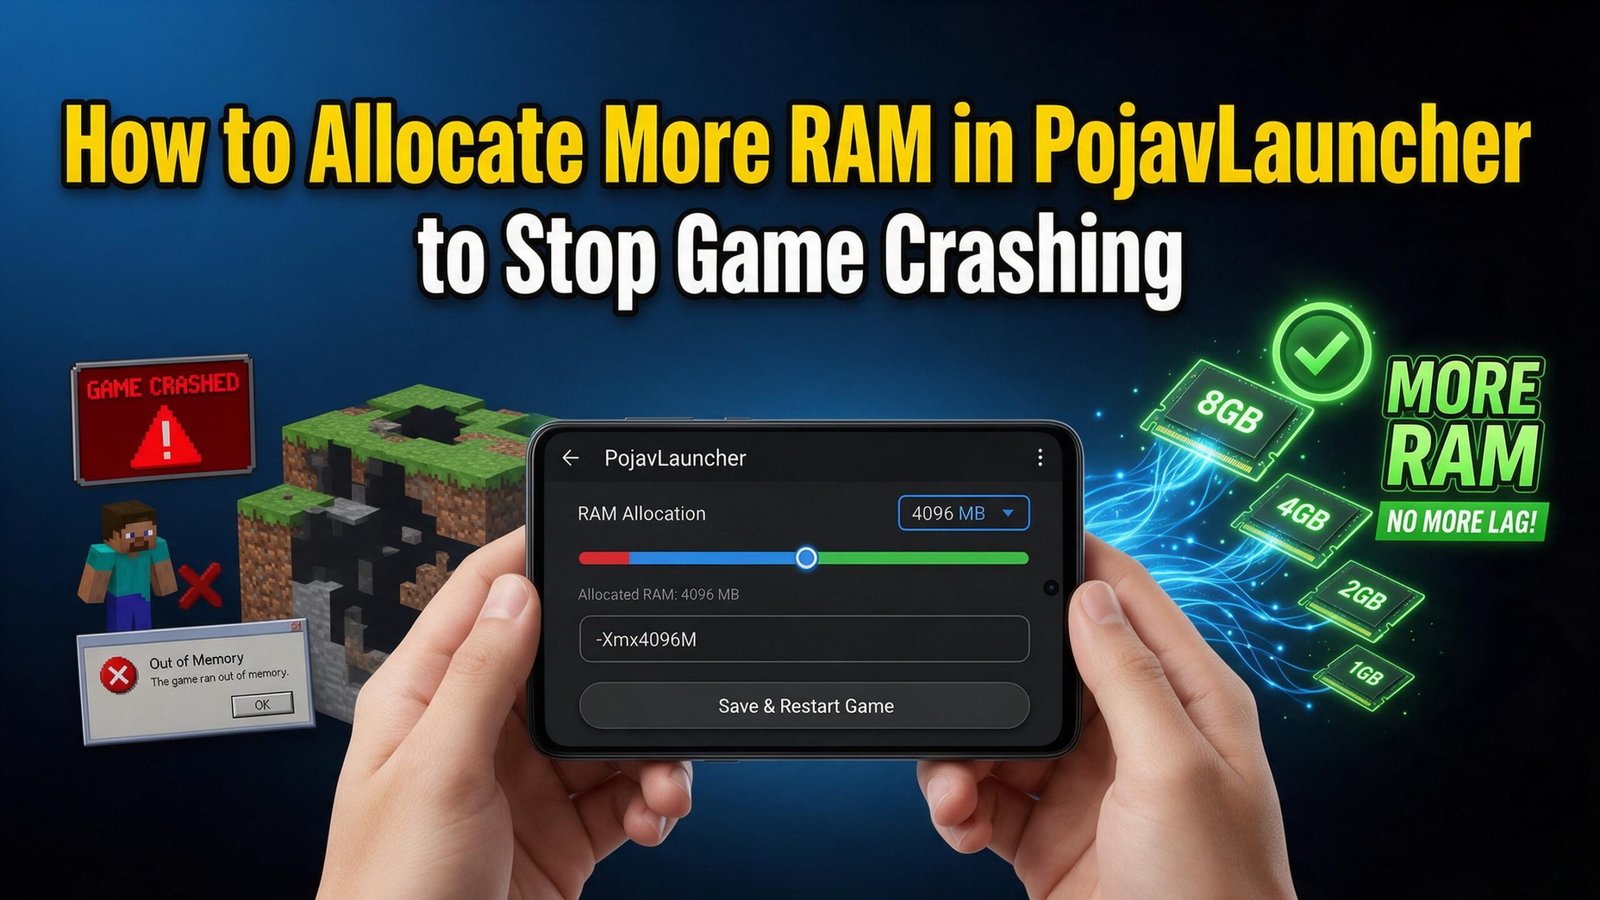
In this guide, I’ll walk you through exactly how to allocate more RAM in PojavLauncher, step by step, so you can stop the crashes and enjoy lag-free gameplay.
What is RAM and Why Does Minecraft Need It?
RAM (Random Access Memory) is your device’s short-term working memory. When Minecraft loads chunks, textures, entities, mods, and shaders, all of that data lives in RAM.
If Minecraft doesn’t have enough RAM:
- ❌ The game crashes with “Out of Memory” errors
- ❌ World chunks fail to load
- ❌ You get sudden kicks to the home screen
- ❌ Texture glitches and lag spikes appear
- ❌ Mods cause the game to freeze on launch
The default 256MB–512MB that PojavLauncher assigns is way too low for modern Minecraft.
How Much RAM Do You Need?
| Use Case | Recommended RAM |
|---|---|
| Vanilla Minecraft 1.16 or below | 1.5 GB |
| Vanilla Minecraft 1.17–1.20 | 2 GB |
| Vanilla Minecraft 1.21+ | 3 GB |
| Lightly Modded (OptiFine, Fabric) | 3 GB |
| Heavy Mods (Forge, 100+ mods) | 4–6 GB |
| Shaders + Mods | 4–6 GB |
| Huge Modpacks (RLCraft, All the Mods) | 6–8 GB |
⚠️ Important: Never allocate more than half of your total device RAM. If your phone has 6GB total RAM, don’t exceed 3GB for Minecraft, or your entire phone will lag.
Step-by-Step: How to Allocate More RAM in PojavLauncher
Step 1: Open PojavLauncher
Launch the PojavLauncher app on your Android device.
Step 2: Tap the Settings Gear Icon
On the main screen (where you select your Minecraft version), tap the ⚙️ gear icon in the top-right corner to open the settings menu.
Step 3: Scroll to the Java/RAM Section
In the settings menu, scroll down until you find:
- “Java arguments” OR
- “Memory allocation” OR
- “RAM” option
The exact wording depends on your version of PojavLauncher.
Step 4: Edit the RAM Value
You’ll see something like this in the Java arguments field:
text-Xmx256m
This means Minecraft is only using 256MB of RAM. Change it to the amount you want. For example, to allocate 2GB, change it to:
text-Xmx2G
Or for 4GB:
text-Xmx4G
Step 5: Save and Launch
Tap Save or the back button to apply. Now launch Minecraft — your crashes should be gone!
Common RAM Settings Explained
| Command | Meaning |
|---|---|
-Xmx2G | Maximum 2GB RAM allocated |
-Xmx4G | Maximum 4GB RAM allocated |
-Xms1G | Minimum 1GB RAM (starts with this much) |
-Xmx2G -Xms1G | Starts at 1GB, can grow up to 2GB |
For most users, simply changing -Xmx2G is enough.
Pro Tips for Stable Performance
✅ Tip 1: Use the Sweet Spot
Don’t go straight to 6GB. Start with 2–3GB and increase only if needed.
✅ Tip 2: Close Background Apps
Before launching Minecraft, close all other apps — especially browsers, social media, and YouTube. They eat RAM in the background.
✅ Tip 3: Restart Your Phone
A fresh boot clears cached RAM and gives Minecraft more room to work.
✅ Tip 4: Lower Render Distance
If crashes continue, go into Minecraft’s Video Settings and lower:
- Render Distance (try 8–10 chunks)
- Graphics (set to Fast)
- Smooth Lighting (OFF or Minimum)
✅ Tip 5: Don’t Overallocate
Setting RAM too high can cause worse performance, not better. The Java Virtual Machine (JVM) becomes slower as it manages larger memory pools. Stick to what’s recommended above.
Troubleshooting: Still Crashing After Allocating More RAM?
If you’ve increased the RAM and Minecraft is still crashing, try these fixes:
- Lower the RAM slightly — too much can cause issues on lower-end devices
- Check your game version — some mods require specific versions
- Reinstall the mod/profile — corrupted files can cause memory leaks
- Clear PojavLauncher cache — Settings → Apps → PojavLauncher → Storage → Clear Cache
- Update PojavLauncher — newer versions have major memory fixes
- Check device temperature — overheating causes throttling and crashes
How to Check How Much RAM Your Phone Has
Before allocating, know your device’s total RAM:
- Go to Settings → About Phone
- Look for “RAM” or “Memory”
- Subtract 1–2GB for the system
- That remaining amount is the maximum you should give to Minecraft
Example: If your phone has 8GB RAM, allocate a maximum of 5–6GB to Minecraft.
Frequently Asked Questions (FAQ)
Will allocating more RAM drain my battery faster?
Yes, slightly. More RAM usage means more power consumption. Lower it when you’re on low battery.
Can I allocate RAM on iOS (AltStore version)?
Yes, but the steps differ slightly. The setting is usually under Settings → JVM Arguments.
What’s the safest RAM amount for a 4GB phone?
Allocate 2GB maximum. Leave the other 2GB for Android to function.
Why is my game still laggy after allocating more RAM?
RAM isn’t everything. Lag can also come from your GPU (processor), not just memory. Try lowering render distance and graphics settings.
Do I need to allocate more RAM for shaders?
Yes! Shaders are very memory-heavy. Allocate at least 3–4GB if you plan to use BSL, SEUS, or Complementary Shaders.
Conclusion
Crashes in PojavLauncher almost always come down to insufficient RAM allocation. By following the steps above, you can give Minecraft the memory it needs to run smoothly, load chunks properly, and handle mods without freezing.
Quick Recap:
- Open PojavLauncher Settings (⚙️)
- Find the
-XmxJava argument - Change it to
2G,3G, or4G - Save and launch
- Keep at least 1–2 GB free for your phone
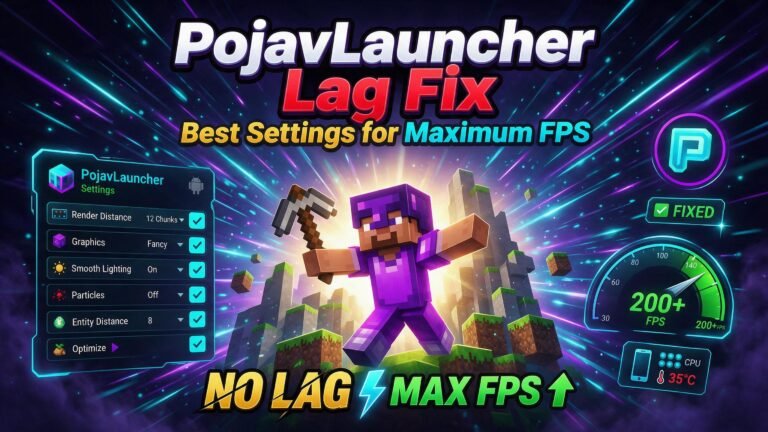
If you’re still experiencing issues, check out my other guides on PojavLauncher lag fixes, OptiFine installation, and shader setup to take your gameplay to the next level.
One Comment